Scarlet Temptation Acrylic Nails
Scarlet Temptation Acrylic Nails
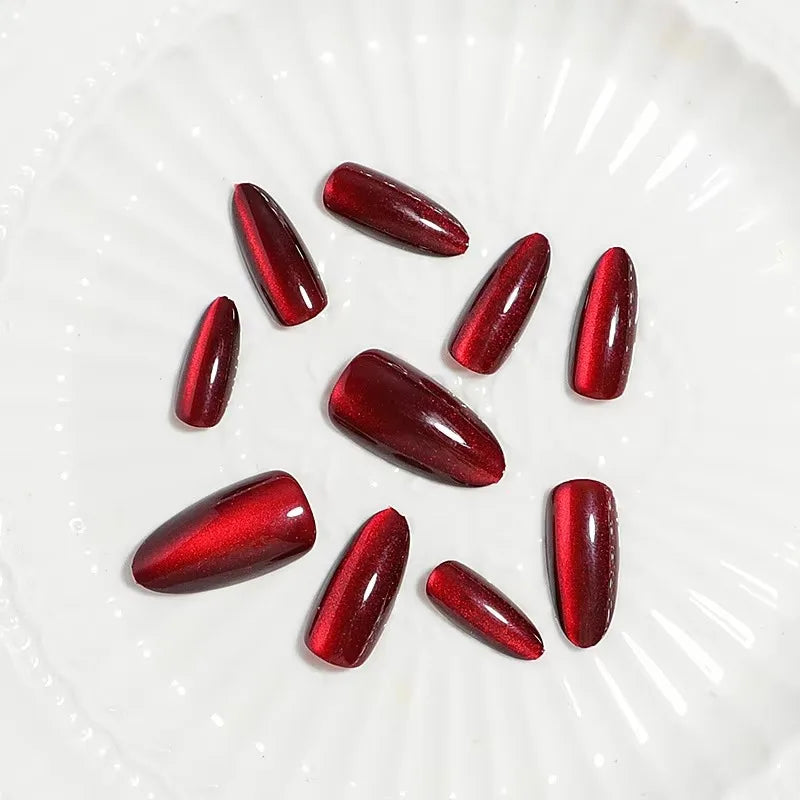
Velvet & Venom
Dripping in seduction and sophistication, these deep red acrylic nails are the ultimate power move. With a mesmerizing, high-shine finish and a sultry cat-eye shimmer effect, they capture the light in all the right ways. The rich, jewel-toned crimson oozes confidence, making this set a must-have for bold, daring beauty lovers who love to command attention. Whether you're dressing up for a night out or just want to feel unstoppable, these nails bring the drama in the best way possible.
Get ready to turn heads and break hearts—these nails are pure, unapologetic temptation. 🔥💋
Why You’ll Love It:
Why You’ll Love It:
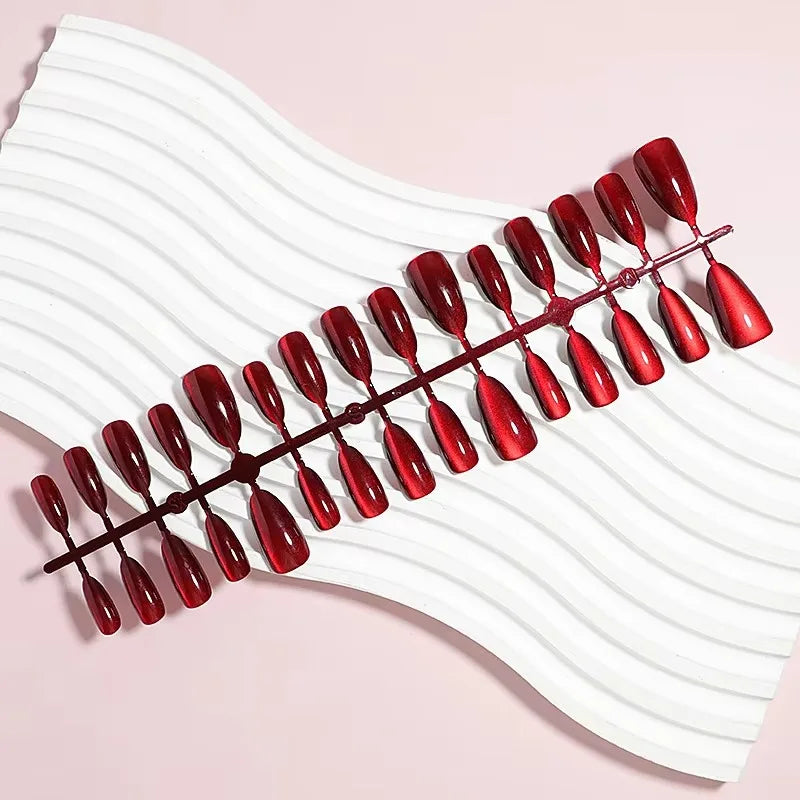
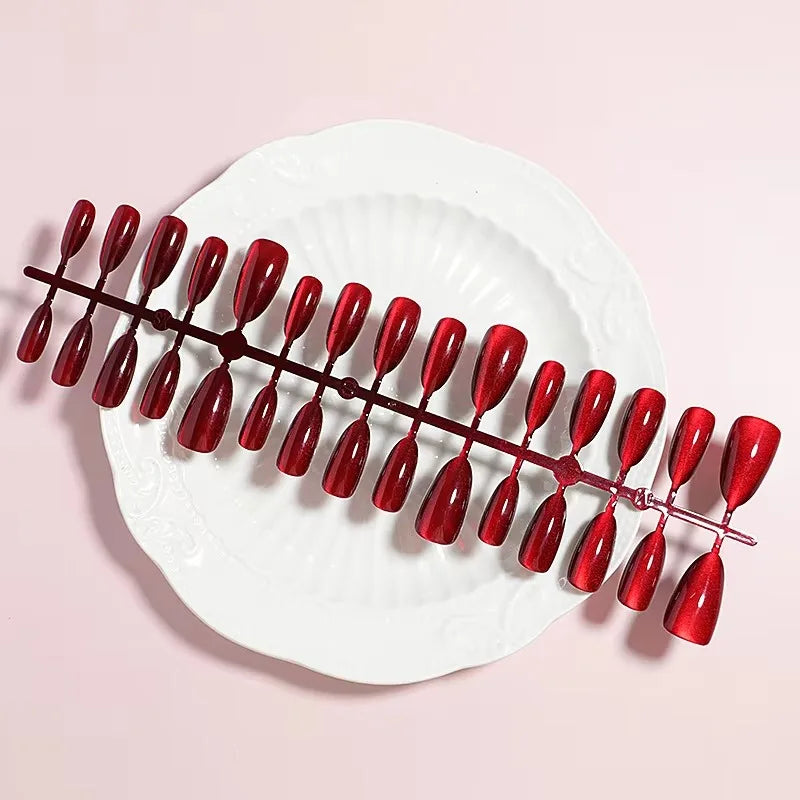
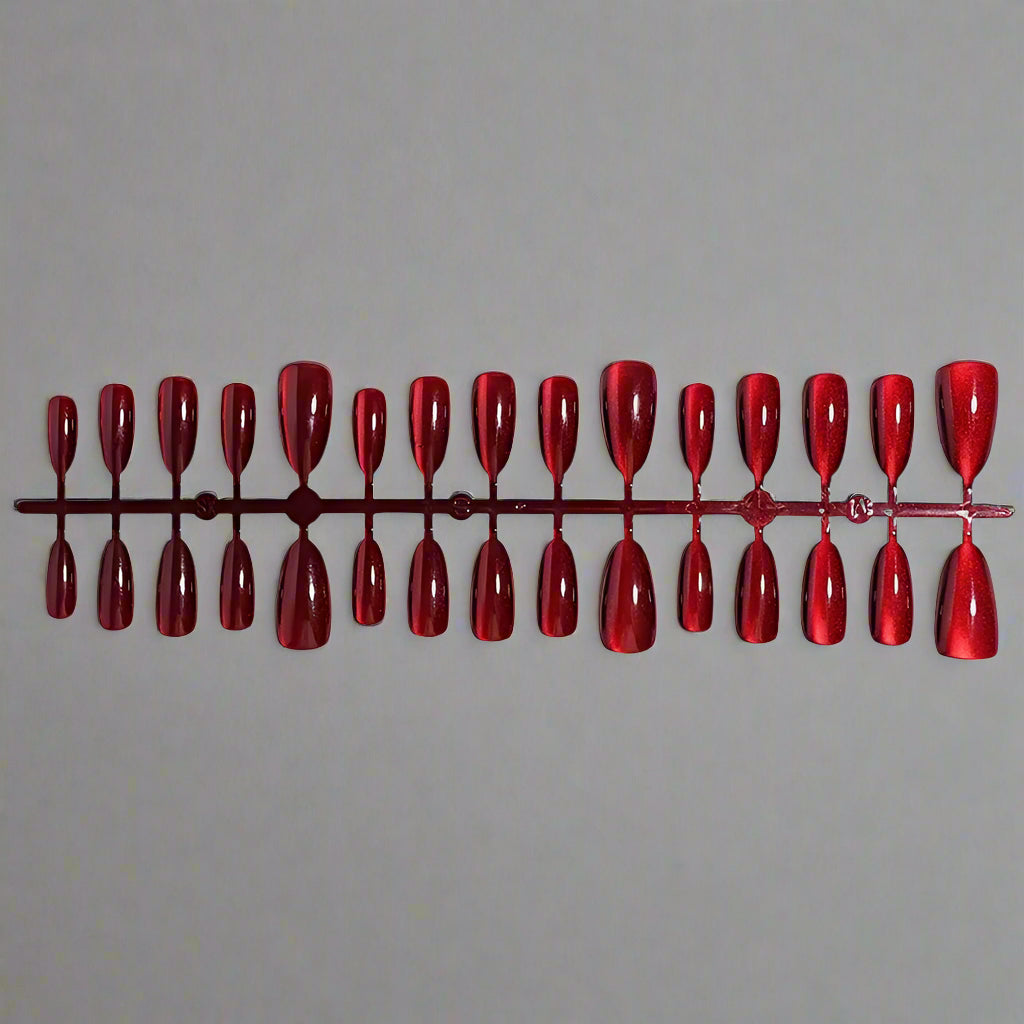
Lustrous, high-shine finish with a hypnotic cat-eye shimmer
Deep crimson hue exudes elegance and mystery
Versatile ballerina shape complements any nail length
Durable, salon-quality acrylic for long-lasting wear
How to Use:
How to Use:
How to Apply Your Reusable Acrylic Nails with Adhesive Tabs 💅✨
These high-quality acrylic nails are designed for effortless application using special adhesive nail tabs, allowing for a damage-free, reusable experience. Follow this step-by-step guide to achieve a flawless, salon-worthy manicure in minutes!
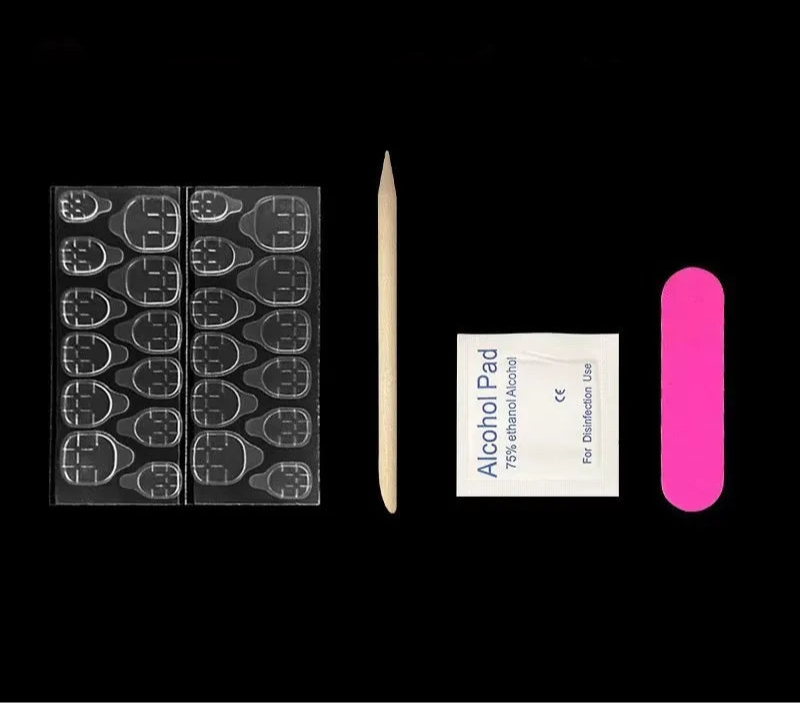
✨ What You’ll Need:
✔️ Your set of acrylic press-on nails
✔️ Adhesive nail tabs (included or purchased separately)
✔️ Nail file & buffer
✔️ Cuticle pusher
✔️ Rubbing alcohol or nail prep wipes
✔️ Small scissors (optional, for trimming tabs)
📌 Step 1: Choose & Prepare Your Nails
- Lay out the press-on nails and match them to your natural nail sizes.
- If needed, file the edges of the press-ons for a more custom fit.
📌 Step 2: Prep Your Natural Nails
- Trim and file your natural nails for an even surface.
- Use a cuticle pusher to gently push back cuticles.
- Lightly buff your nails to remove shine—this helps the tabs stick better.
- Wipe each nail with rubbing alcohol or a nail prep wipe to remove oil and dust.
📌 Step 3: Apply the Adhesive Nail Tabs
- Select the correct-sized adhesive tab for each nail.
- Peel off the backing and press the tab firmly onto your natural nail.
- Remove the top protective layer from the adhesive tab.
📌 Step 4: Apply the Press-On Nails
- Align the press-on nail with your cuticle, then press it down starting at the base and working forward.
- Hold firmly for 10-15 seconds to ensure a secure bond.
📌 Step 5: Wear & Care
- Avoid water or excessive pressure for the first hour after application.
- These nails are designed to last up to a week with proper care.
- To maximize longevity, avoid excessive oil-based products on your nails.
📌 Step 6: Safe & Easy Removal
- Gently lift the edges of the press-on nails without force.
- If needed, apply warm soapy water around the edges to loosen the tabs.
- Slowly peel off the nails, leaving no damage to your natural nails.
- Remove leftover adhesive from the nails and tabs before storage.
📌 Step 7: Store & Reuse
- Clean and store your acrylic nails in their original packaging or a small case.
- Keep extra adhesive tabs on hand for future applications.
💖 Pro Tip:
- If a nail loosens over time, simply replace the adhesive tab and reapply!
- Store nails in a cool, dry place to maintain their shape and quality.
Now you can switch up your look anytime without damage, commitment, or salon prices! 💅✨
Verfügbarkeit für Abholungen konnte nicht geladen werden